Skip to content
Skip to sidebar
Skip to footer
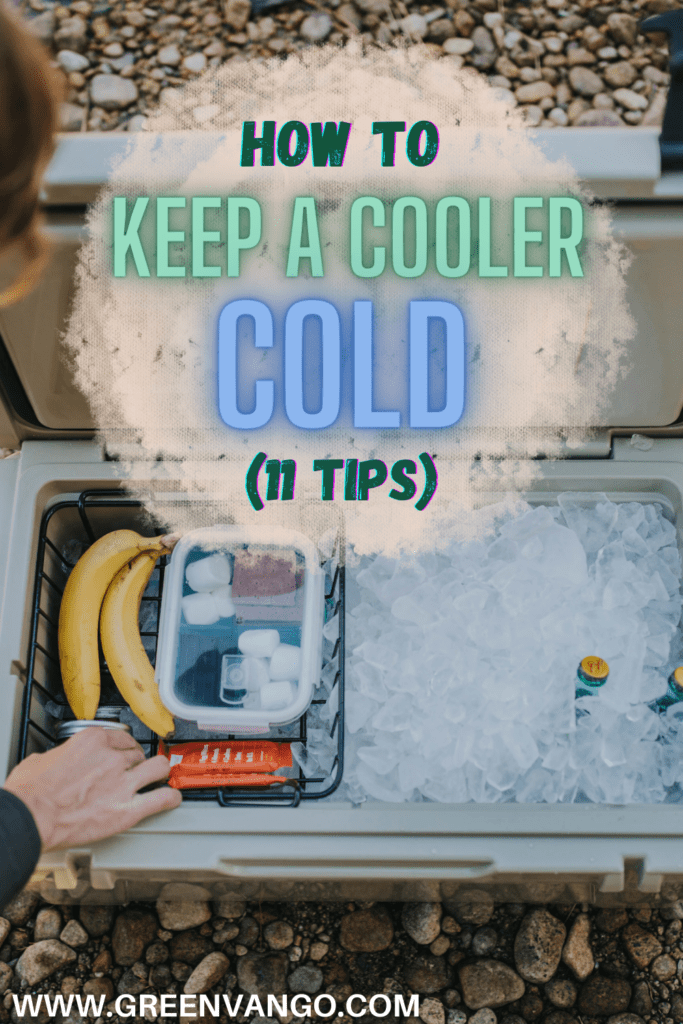
After using a $50 Coleman cooler as my “fridge” for the past year of van life, I’ve learned how to keep my cooler chilled for as long as possible. Coolers are a solid alternative to pricier portable fridges, but they can require more maintenance.
Check out my review of the YETI vs Coleman cooler for van life
I’ve gambled too many times on food items in my cooler that may have spoiled. Because food poisoning is no joke–especially if you’re in the middle of nowhere alone. (Check out which foods are safest for non-refrigeration).
I spend up to twenty dollars per month on ice for my cooler. Ouch! Ice typically lasts 3-4 days and costs $2-3 per bag. So what have I learned to keep this cost as low as possible while keeping my food safe? Read on!
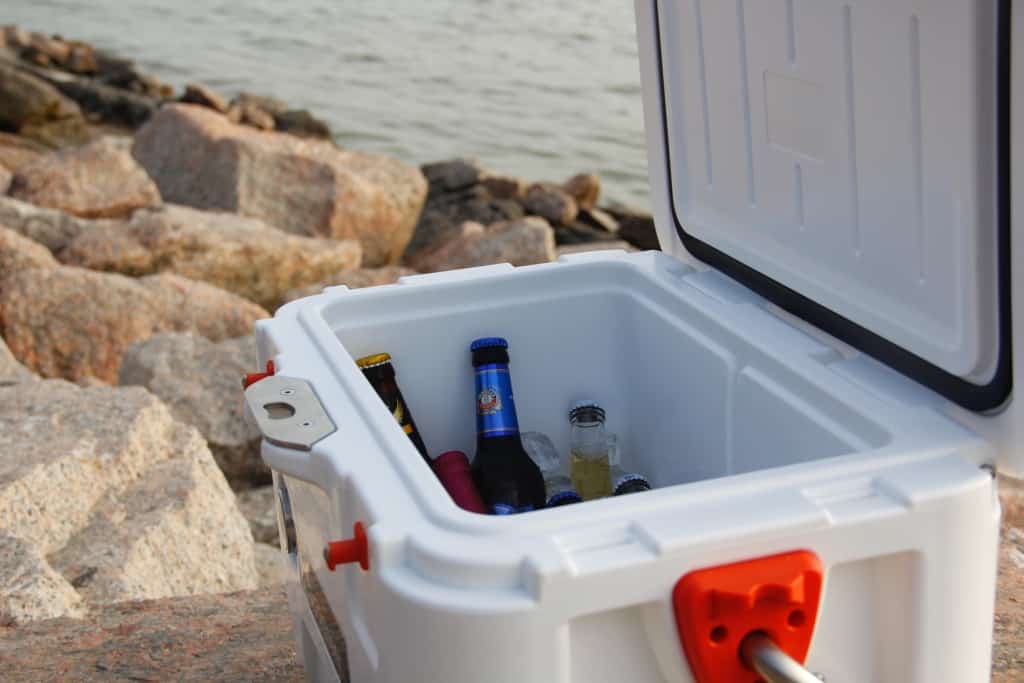
Block ice melts slower because it has less surface area exposed to air flow and warmer temperatures. But cubed ice is great for getting into every nook and cranny. The ultimate setup is using block ice on the bottom of your cooler, as your base, then adding food, then spreading cubed ice over your food.
If cubed ice is your only option, keep it in the bag to help minimize its exposure to air. Place a bag on the bottom of your cooler, put food on top of that, then another bag on top of your food.
They’re more likely to be colder than ice exposed to the constant opening of the freezer doors. Ice that’s colder than the freezing point of 32 degrees Fahrenheit will last longer than ice that’s just hitting that freezing point. Avoid ice that’s dripping or “sweating”.
I used to keep my cooler between my driver and passenger seats because it fit perfectly there. However, it had much more exposure to the sun so I now keep it underneath my van benches.
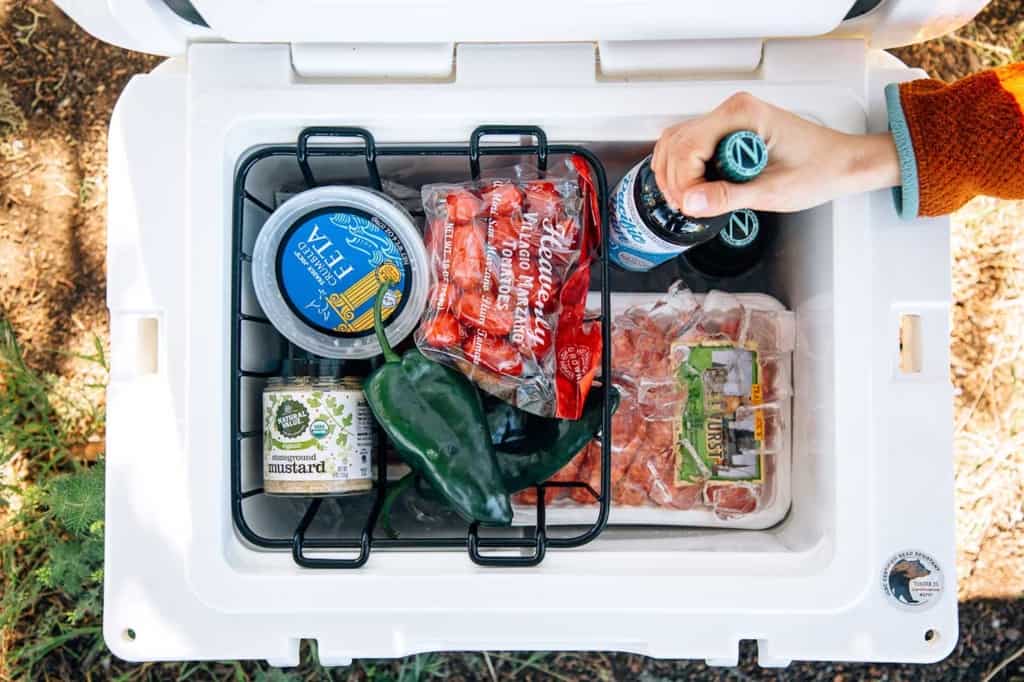
After some ice has melted, don’t drain the water because this helps insulate the remaining ice. But keep exposed foods out of the water as the water could contain unsafe bacteria.
Try to pack your cooler as full as possible, whether with food or ice. Ice will try to cool the surrounding area before it cools food, so give it less area.
Every time you open the cooler, chilled air escapes and triggers the ice to start melting to re-cool the air.
For example, have a drink cooler and food cooler. Grab cold drinks throughout the day while keeping your perishables untouched until meal time. Every time you open the cooler, chilled air is released and the ice has to work again to re-chill the air, thus melting the ice.
Salt actually lowers the freezing point of water. (See for yourself–stick your finger in a glass of water, then add salt and stir. Stick your finger in again and the water will be cooler.) In this way, salt can help slow the melting of ice.
Keep dinner items on one side and breakfast items on the other. Keep drinks on the top if you’ll be pulling them out throughout the day. You’ll avoid rummaging through the cooler every time you need something, therefore decreasing the need to recool items.
Excess packaging is just more “stuff” for ice to have to cool. Especially if it’s cardboard packaging, it will just get soggy quickly anyways. If you need cooking directions on certain foods’ packaging, simply take a picture before throwing away the wrapper.
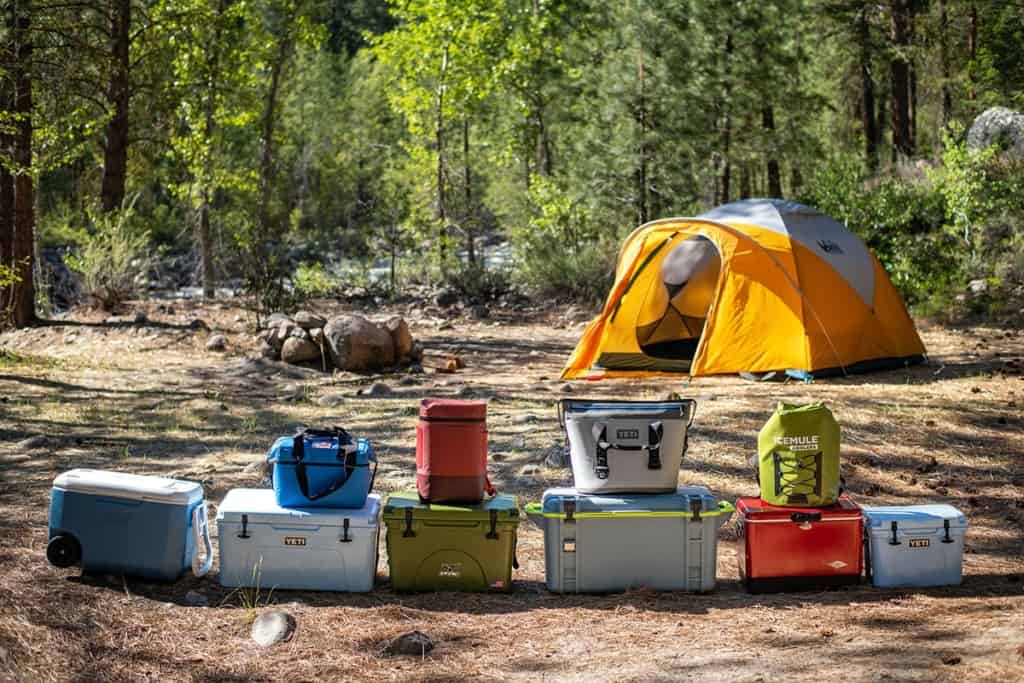
Upgrade your cooler to a high-quality brand such as Yeti, Orion or Pelican. While I can’t vouch for them quite yet because I haven’t invested in one myself, I’ve had many vanlife friends share their love of those brand coolers. With insulation up to 2” thick and a rotomolded frame, an expensive cooler could be a good long-term investment.
I’ve gone to the school of hard knocks so you don’t have to! From wasting food because it got waterlogged, or still trying to attempt to eat it–here’s what I’ve learned:
Dump out cooler water ASAP once your cooler is not in use. The water may look “clean”, but bacteria will grow if water gets stagnant and warm.
***PRO TIP: if the water is still cold and fairly fresh, I’ve poured it straight into my solar shower bag! It’s a great re-use of water when you’re in the hot desert looking to freshen up but don’t want to waste precious water supply.
Air out your cooler in the sun. Sometimes I’ll leave mine out all day, letting the sun naturally kill bacteria and freshen it up.
Use a disinfectant frequently to, once again, kill odor-causing and potentially harmful bacteria. I use this small container of Lysol Multi-Use Cleanser.
Invest in quality, seal-tight tupperware so you can keep food away from cooler water once removing it from its original packaging. Reusable storage bags are also an option and may take up less room.
For example, if you’re cutting up an onion but only need half of it right away, still cut up the other half and store in tupperware. I have found this helps reduce the number of times I need to open up my cooler and makes meal prep more efficient.
Store critical items like meat and dairy products at the bottom of the cooler. Fruits and vegetables can be kept with lighter refrigeration, so they can go on the top.
Keep a waterproof thermometer inside your cooler to monitor temperatures. Food should be kept at forty degrees fahrenheit or cooler to help slow the growth of bacteria.
******************
If you’re full-timing in a van with a cooler, it can take a while to develop a routine for rotating cooler food and ice. But once you nail it down, you can enjoy any perishable or non-perishable foods from the road! If you enjoyed my tips on how to keep a cooler cold the longest, check out my three favorite, healthy van life recipes for under twenty bucks!
2 Comments
Star Abbott
What type of fridge can you buy for the 240 jackery to charge it
Hilary
Unfortunately I don’t know of any fridge that’s low-power enough to charge off of the Jackery 240. The Jackery 500 can charge mini, portable fridges because it can put out more power, but it has a higher price tag. Here are some budget-friendly campervan fridge options though: https://tworoamingsouls.com/best-budget-friendly-fridge-options-for-campervans-ultimate-guide/ – hope that’s helpful!